 English
 русский
 Français
 Español
 italiano
Field Guide — Equipment & Technique
The Quiet Discipline of Assembling a Mist Sprayer
A correct first assembly is the difference between a tool that performs flawlessly for years and one that leaks, sputters, and disappoints within weeks. Here is the sequence worth doing properly, once.
Quick Answer: The Correct Assembly Sequence
To properly assemble a mist sprayer before first use, follow this order: attach the nozzle head to the pump mechanism, insert the pump assembly into the reservoir bottle, hand-tighten the collar until it seats fully, connect the trigger or hand-pump lever, and finally test the unit with plain water before adding any chemical or liquid. Skipping the water test is the most common mistake new owners make, and it accounts for a large share of early leaks and pressure failures.
On average, a correctly assembled unit reaches usable pressure within 8 to 12 pump strokes, while a poorly seated pump head can require 25 or more strokes and still fail to produce a fine mist.
This guide walks through every stage of assembly in detail, covers the tools you actually need — usually none — and explains how the process differs slightly depending on whether you're setting up a handheld portable spray bottle or a larger backpack-style mist blower sprayer used for garden or agricultural work.
Tools and Items You'll Need Before Starting
Most consumer-grade mist sprayers are designed for tool-free assembly, but having a few items on hand will make the process smoother and help you avoid damaging the seals.
- A clean, flat work surface to prevent dirt from entering the reservoir
- A small amount of clean water for the initial pressure test
- A soft cloth to wipe down threads and gaskets
- The original instruction sheet, since nozzle types vary between models
- A pair of clean hands or nitrile gloves if you plan to test with any chemical later
Larger backpack units, often marketed as a mist blower sprayer, may include additional components such as a battery pack, a spray wand extension, and a shoulder harness. These require a slightly longer setup window — typically 10 to 15 minutes for a first-time assembly compared to under three minutes for a compact handheld model.
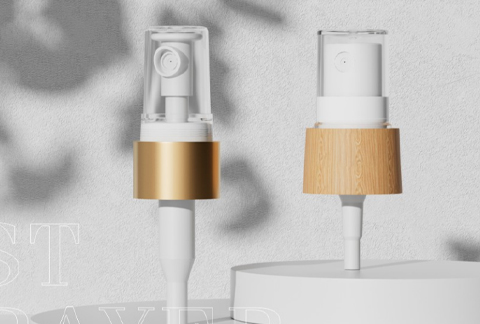
mist sprayer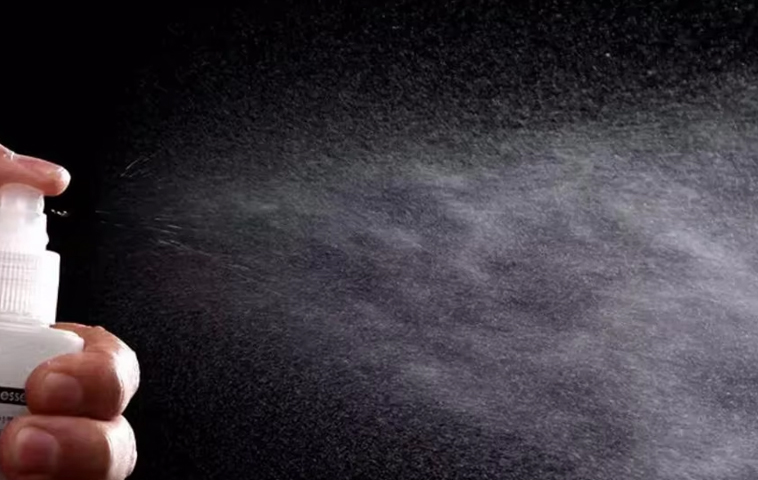
Step-by-Step Assembly Instructions
Step 1 — Inspect All Parts Before You Begin
Lay out every component on your work surface: the reservoir bottle, the pump head, the dip tube, the nozzle cap, and the trigger or lever mechanism. Check the dip tube for cracks and confirm the rubber O-ring on the pump head is seated evenly and not twisted.
Step 2 — Attach the Dip Tube to the Pump Head
Push the dip tube firmly onto the small barbed fitting beneath the pump head until it clicks or stops moving. The tube should sit flush and not wobble. If your model allows tube trimming, cut the tube so it reaches within about 5 millimeters of the bottom of the reservoir; leaving it too short means the sprayer will run dry before the bottle is actually empty.
Step 3 — Insert the Pump Assembly into the Reservoir
Lower the pump head and attached dip tube straight down into the bottle opening, keeping the tube centered so it doesn't bend against the bottle wall. Threading it at an angle is a common cause of cross-threaded caps, which can crack the plastic collar on the first tightening attempt.
Step 4 — Hand-Tighten the Collar
Turn the collar clockwise using only hand pressure. It should tighten smoothly and stop with light resistance.
Step 5 — Attach the Nozzle and Adjust the Spray Pattern
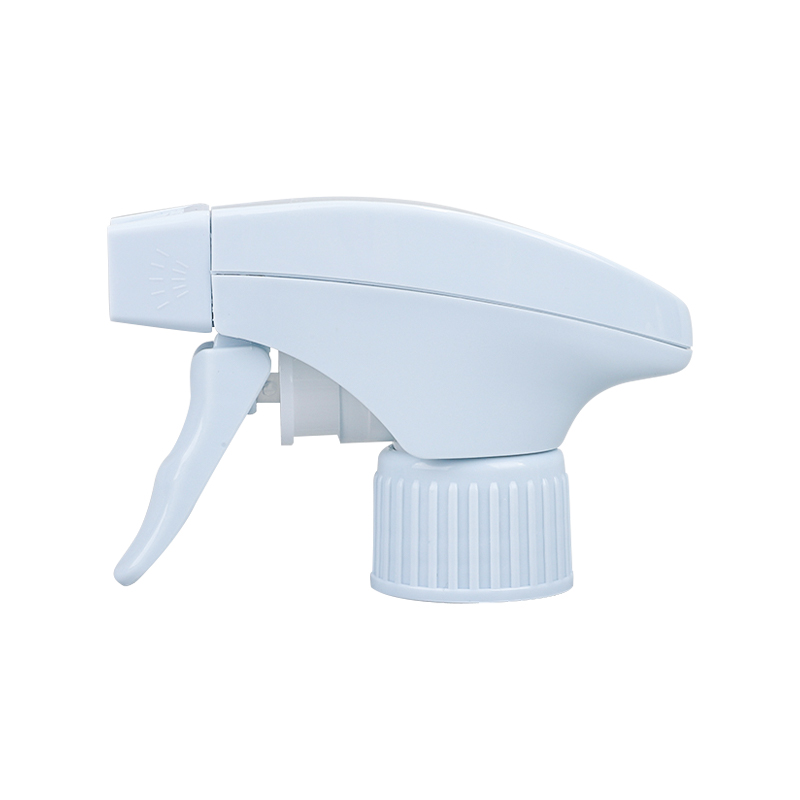
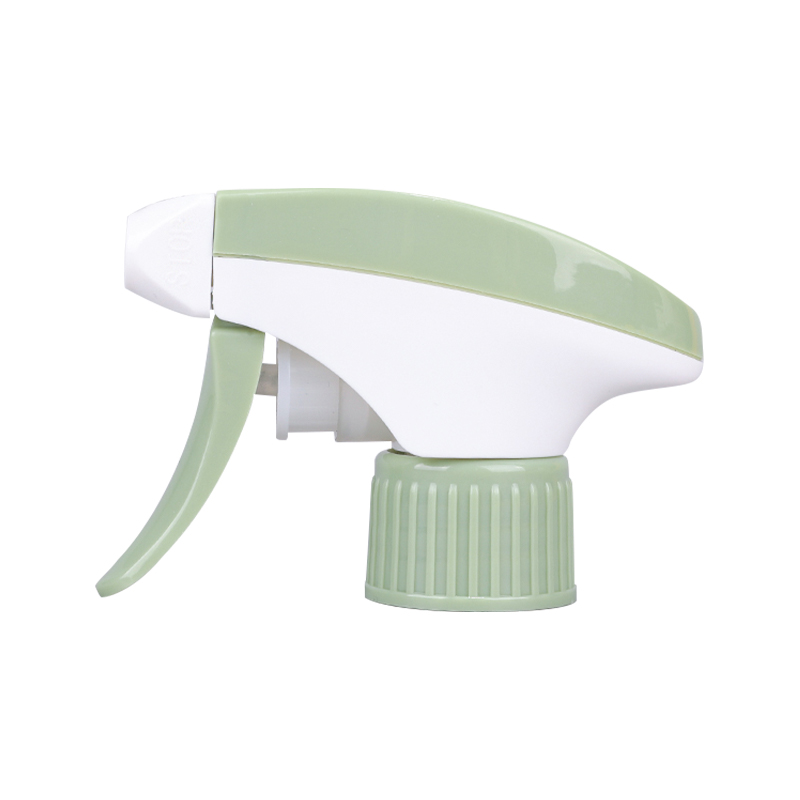
Screw or click the nozzle cap onto the pump head's outlet port. Most nozzles offer an adjustable ring that twists between a fine mist, a wide fan, and a concentrated stream. Set it to the mist position for your first test, since this setting places the most demand on the internal seals and will reveal any assembly issues immediately.
Step 6 — Connect the Trigger or Pump Lever
For trigger-style handheld units, snap the trigger guard into place until it clicks. For lever-pump or backpack models, attach the pump handle to its pivot pin and confirm it moves through its full range without catching.
Testing the Sprayer Before Adding Any Liquid
Fill the reservoir with plain water to roughly 50% capacity for the first test. This is enough to verify the seals and spray pattern without wasting product if something needs adjusting. Pump or squeeze the trigger 8 to 12 times and observe the output.
| Observation | Likely Cause | Fix |
|---|---|---|
| No spray at all | Dip tube not submerged or disconnected | Re-check tube depth and connection |
| Leaking at the collar | Cross-threaded or loose cap | Remove and re-thread straight, then hand-tighten |
| Large droplets instead of mist | Nozzle set to stream mode | Twist nozzle ring to fine mist setting |
| Sputtering or air bubbles | Low fill level or air trapped in tube | Add more water and pump several more times |
Assembly Differences for Larger Backpack Units
A handheld portable spray bottle is straightforward, but a gas- or battery-powered mist blower sprayer used for orchards, vineyards, or large gardens involves a few extra steps because it combines a liquid tank with an air-moving fan unit.
- Mount the tank onto the frame or backpack harness and secure the retaining straps or clips.
- Connect the discharge hose from the tank to the blower housing, ensuring the clamp is tight enough to prevent liquid leakage under airflow pressure.
- Attach the spray wand or nozzle extension to the blower outlet and confirm it locks in place.
- If battery powered, charge the battery fully before first use — most units need 3 to 5 hours for an initial full charge.
- Install the battery or start the engine according to the manufacturer's starting sequence, then run a dry test for 30 seconds to confirm the fan spins freely.
- Fill the tank with water only for the first wet test, and check the flow rate at the nozzle before adding any actual product.
Common Mistakes That Damage a New Sprayer
Even experienced users occasionally shorten the life of a new sprayer through avoidable habits during setup. Being aware of these mistakes up front can extend the working life of the unit significantly.
- Over-tightening the collar with tools instead of hand pressure
- Filling the reservoir with hot or chemically concentrated liquid before the water test
- Forcing the trigger before confirming the dip tube is fully connected
- Skipping the manufacturer's instruction sheet when nozzle types differ from a previous model
- Storing the assembled unit with leftover liquid inside, which can dry and clog the nozzle within days
Manufacturers commonly report that units returned as "defective" within the first month are, in a large proportion of cases, actually assembly errors rather than genuine product faults. Taking an extra two or three minutes during setup resolves the vast majority of these issues before they ever become a problem.
Final Checklist Before Regular Use
Before moving from testing to everyday use, run through this final checklist to confirm your sprayer is fully ready.
- All threaded connections are hand-tight with no visible gaps
- The nozzle produces a consistent mist without sputtering
- No moisture appears around the collar or trigger housing after 10 pump strokes
- The dip tube reaches near the bottom of the reservoir
- For backpack units, straps, hoses, and clamps are all secure under light pressure
In Summary
Once every item on the checklist above holds true, your sprayer is properly assembled and ready to be filled with its intended liquid for regular use. Taking the time to assemble it correctly the first time not only prevents early leaks but also ensures the spray pattern stays consistent for the full lifespan of the unit — a small ritual of care that pays back in reliability every time you reach for it.